BFG Supply
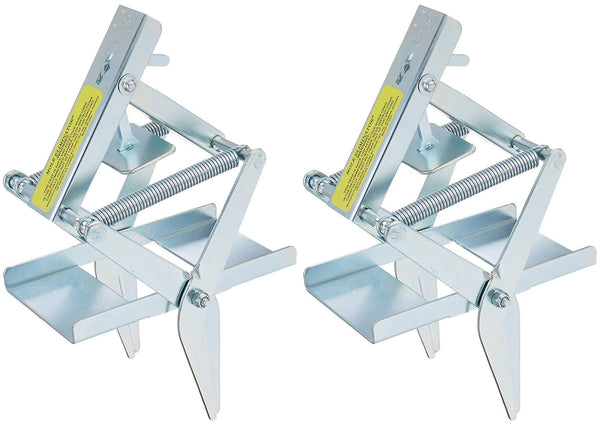
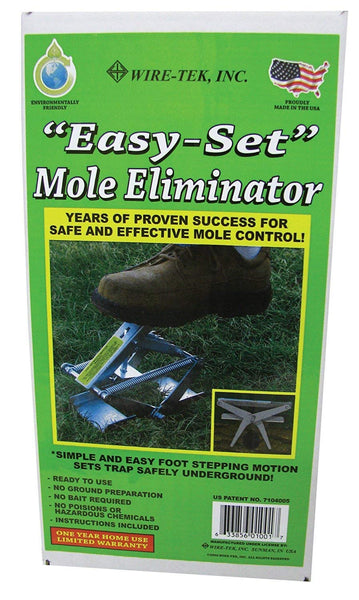
Wire Tek 1001 Easyset Mole Eliminator Trap (2 Pack), Scissor Mole Trap, Mole Traps That Kill Best, Mole Killer for Lawns, Mole Traps for Lawns - MADE IN THE USA!!- Used, Very Good
Regular price
$59.99
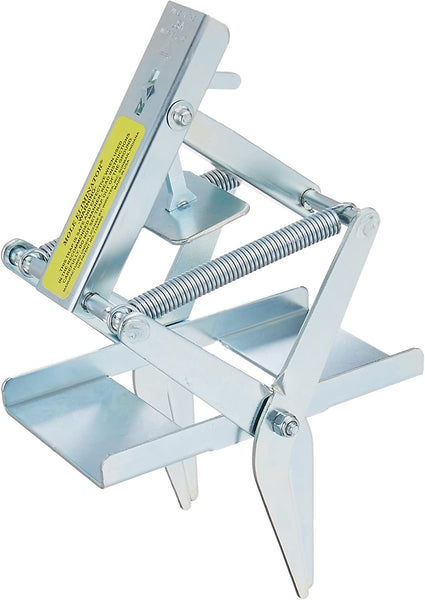
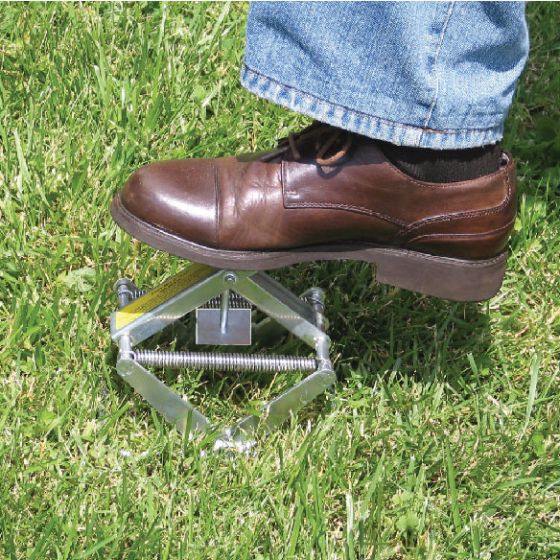
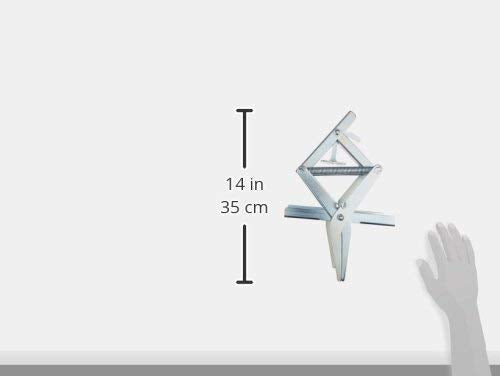
The Wire Tek Mole Eliminator Trap takes the guesswork out of trapping and eliminating moles from your lawn, yard and garden. The Wiretek Mole Eliminator Trap is the most effective mole control product on the market. It eliminates the use poisons or chemicals and is effective on all species of moles worldwide! Other traps on the market are difficult to use or require significant time to set due to digging and locating the mole tunnels. Some products require that they be set with sharp prongs or special setting tongs that could injure the person handling the trap, as well as children, pets or non-targeted wildlife. The Wire Tek Mole Eliminator Trap is the only mole trapping device that can be set into the mole tunnel without any digging, setting dangerous cables, spears or clamps! Simply locate the mole tunnel (ridge) and firmly insert the closed jaws into the center of the tunnel until the base of The Wire Tek Mole Eliminator Trap is flush to the ground. Then step straight down on the setting lever to set the trap and trigger mechanism. That is it. The trap is now set. As the mole travels through the tunnel, it will push up on the collapsed portion of the tunnel where the Includes 2 Traps. Easy Set Mole Eliminator Trap is positioned, triggering the trap and instantly meeting their demise! The Wire Tek Mole Eliminator Trap is effective, safe to use, and without the use of poisons or secondary poisoning concerns, it is accepted for use in organic farms, ranches and nurseries.
TROUBLESHOOTING SECTION:
1) If you are having difficulties setting your Mole Eliminator® trap, here are some steps you can take:
First, check to make sure your trap is positioned correctly in the mole tunnel. The jaws should be in line with the tunnel and the
trigger plate should be centered with the tunnel.
Next, check if your trap is oriented correctly for setting it. Make sure the trap is in an upright position with the springs parallel to the
frame and the ground.
Then, step straight down on the top lever until the trap is set, putting your weight into the step. If you are having difficulty pressing
the trap into the set position, you may need to apply more force and/or alter the soil where you are setting the trap.
*See the SETTING THE TRAP section for more details in your user manual
2) If you are having difficulties catching moles, we recommend relocating the trap to a different part of the tunnel or a different tunnel
in the area. *See the REMOVING OR RELOCATING section for more details in your user manual.
You may also have trouble catching moles if there are artificial odors on the jaws of the trap, such as grease or oil. If you suspect
there are artificial scents on your trap, you can push the closed jaws in and out of soft dirt repeatedly to remove the scents.
*See the CARING FOR YOUR MOLE ELIMINATOR® section for more details in your user manual.
3) If you are having difficulties releasing your Mole Eliminator® trap, here are some steps you can take:
If you are releasing a trap that is in the set position, make sure to release it while it is in the ground. Insert a small rigid stick between
the top and lower lever and lift up under the top lever until the trap returns to its unset position.
*See the REMOVING OR RELOCATING section for more details in your user manual
If you are releasing a trap that has caught a mole, first pull the trap out of the ground with a rocking motion. Support the frame on
both sides and push down on the top lever as if you were going to set the trap, but only press it just enough to allow the mole to
drop out. *See the DISCARDING THE DEAD MOLE section for more details.


